Layout of the print file
Layout of the printing template
To ensure that your packaging looks the way you want it to, it is important that you select the right print template for your packaging.
Please only use our printing templates, as these are adapted to our specific printing requirements. You can download the print templates here.
The print file for our flat bottom pouches is structured into five layers: the left side, the front, the right side, the back and the bottom.
The print file for the stand-up pouches consists of three layers: the front, the back and the bottom.
The print file for the flat pouches consists of only two areas: the front and the back.
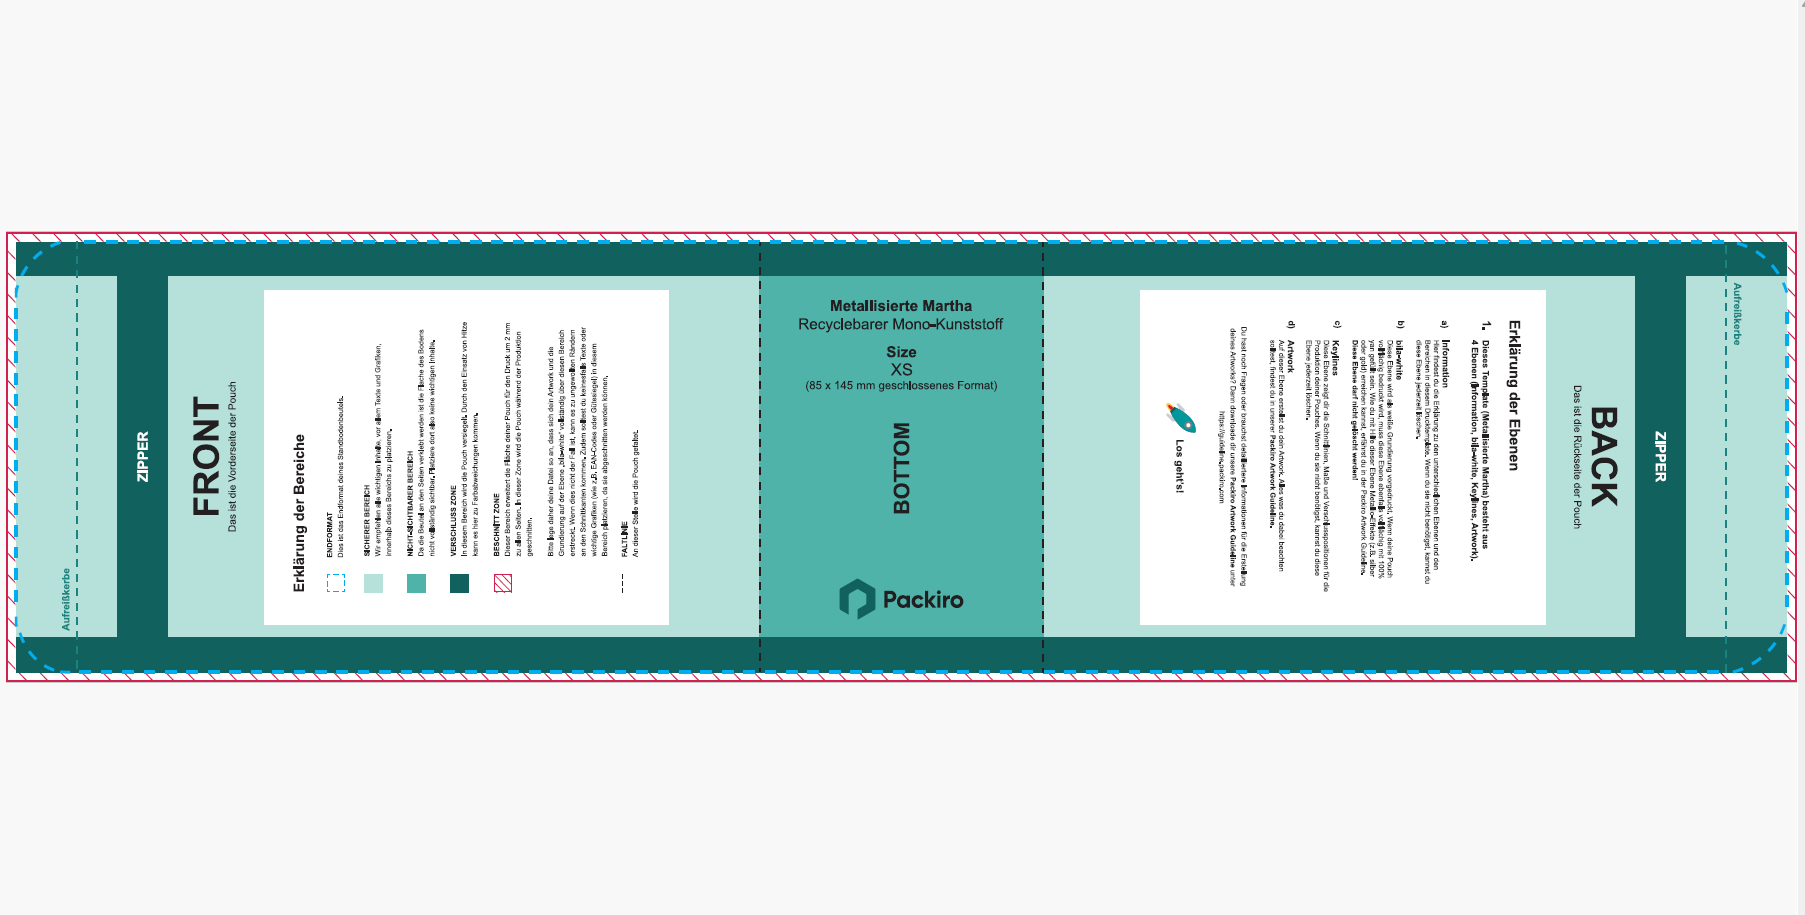
Layer structure
The printing templates are structured into different layers. The layer structure varies depending on the packaging material you selected.
Just like a folder structure, layers help to organise the individual elements (e.g. images, texts, logos) within a file. The order of the layers thus determines the stacking order of the individual elements.
There are three or four layers in your file for each material selected:
For Robin and Ben, you will find the following layers:
‘Information’ (stand-up pouch & flat pouch) or ‘Guideline’ (flat bottom pouch)
‘Keylines’
‘Artwork’
For Toni and Martha, you will find the following layers:
‘Information’ (stand-up pouch & flat pouch) or ‘Guideline’ (flat bottom pouch)
‘White’ (stand-up pouches & flat pouches) or ‘bila-white’ (flat bottom pouches)
‘Keylines’
‘Artwork’
Edges and printing lines
Your print template contains various print lines. They serve as cutting edges and determine the print area of the file. Elements (e.g. texts) placed outside the bleed will not be printed and will no longer be visible on your finished printed pouch.
A 2 mm wide bleeding zone (red striped area) is preset in our print templates for stand-up pouches and flat pouches.
A bleeding zone (red striped area) of 2.5 mm on the left and right side and 5 mm at the top and bottom is preset in the print templates for flat bottom pouches.
The so-called ‘sealing zones’ indicate the area where your packaging will be sealed during production.
You can find out what distance we recommend from the print lines to ensure that everything runs smoothly during printing in the Fonts, lines & spacing section.
Can I rotate the template?
The arrangement of the print file must not be changed for the final print file. During the design process, you can of course rotate the workspace as much as you like using the ‘Object’ and ‘Transform’ menu items. However, please make sure that the print settings are saved and provided to us in their original alignment.
Can i rename the layers, change the order info or add new ones?
No. It is particularly important to maintain the order, naming and number of layers in order to avoid any problems during the printing process. In addition, make sure that all layers are visible. The only layer you are free to remove for the upload is the ‘Information’ layer. You should only create your design on the ‘Artwork’ layer.
All done?
Did you use the appropriate printing template for your packaging?
Did you create your design only on the ‘Artwork’ layer?
Did you keep the layer structure and layer names unchanged?
Did you create your design only up to the ‘Sealing Zones’ (black & blue line)?